Your Google form is somewhat dependent on visual appeal to make it look worth filling. The header image is the main attention-grabber in this equation. Unfortunately, not everyone gets the aesthetic right on that. On top of that, most people don’t know the recommended Google Form header image size.
Google Forms might seem like a very purpose-driven feature, with few uses for a custom header image. However, you’d be surprised how much of a difference it makes.
Be honest, how many surveys you clicked out of just because they looked bland and used a standard placeholder image?
In this article, we’ll go over the recommended header image size for Google Forms, as well as some tips on creating one for your next Google form.
Let’s jump right in.
Table of Contents
What’s the Recommended Google Form Header Image Size?
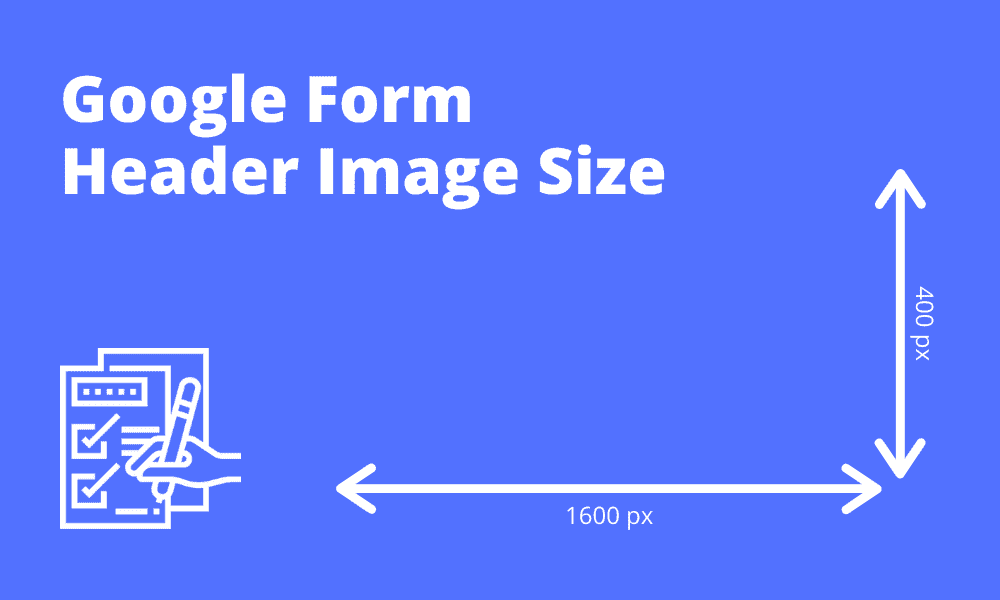
The recommended Google Forms header image size is 1600×400 pixels, at an aspect ratio of 4:1. The accepted file formats are in JPG (JPEG) or PNG.
This is the optimal aspect ratio and size when it comes to putting up a visual representation of what your form contains.
The wide landscape orientation gives your custom Google form images a prominent position on the page. You can use that real estate to insert details about your form.
Additional Google Form Image Dimensions You Need to Know
The size of the image file should be 2MB, which is ideal for quick loading and still carries enough resolution to still be clear.
You should only use JPG (JPEG) or PNG formats for the image, since these are universally accepted and many online platforms are optimized for these formats.
In addition to the recommended size, you can also use images that are 800×200 pixels, although this should be reserved for very basic forms that don’t need much visual appeal.
Tips for Creating a Great Google Form Header Image
Forms and surveys depend on the majority of the time on the actual content and the meat of the subject. That is not to say that images don’t have any importance at all.
Images add some much-needed color and visual engagement to the equation, something you could definitely benefit from if you want to keep the attention of your survey-takers fixed on the survey.
Here are some tips on creating some of the best Google Forms header images.
1) Insert Elements Relevant to Your Survey

According to one report, images have a 650 percent higher engagement rate than plain content. This proves how important they are to maintain and increase the reader’s attention towards it.
Even better – create images that have elements related to the survey you are conducting. An example of this would be to add vehicle shapes in a form that surveys opinions about certain traffic regulations.
This will cause the entrant to be more interested in the survey items since they’ll already have a visual representation of the survey contents in their minds.
Additionally, it’ll help you breeze through the survey since you’ll be prepared for survey questions due to already having an idea of what the survey is about. This kind of mental preparation will also build a level of affinity with your brand.
2) Create a Branded Header Image

When designing an image template for your Google forms, you should consider creating an image that reflects your brand. Any brand requires a uniform design message across all of the platforms they are represented on and Google Forms should be no different.
You can customize the header or background image according to the brand’s color scheme and art style. This will allow the form(s) to blend with other branded documents and materials.
This goes for all kinds of custom Google Docs, including Google Slides, Google Sheets, Google Drawings, and Google Classroom, among others. Additionally, if your brand has a presence on other social media, make sure to keep the design uniform.
Just like an album cover, a branded header image will appeal to the reader and increase the form’s chances of engagement.
3) Utilize Width Instead of Height
Google uses a landscape orientation for its Forms header image. This layout has several advantages, mainly that it’s closer to the human eye’s natural field of view.
Now, although the default orientation is already wide-angled, there is still a lot you can do to make the image horizontally inclined.
For example, you can arrange the image elements around the left and right corner, and have the form title in the middle of the image. This will act as a frame for whatever elements are in the middle.
On top of that, use negative space to your advantage. Chances are that the survey won’t really warrant a vibrant header image design. If this is the case, you can simply use the empty space as a design feature.
4) Keep Your Design Simple yet Engaging
When it comes to adopting a winning design philosophy, there’s nothing that beats simplicity and the less-is-more approach.
There are several reasons for this, primary among which is that simpler designs are absorbed much better by viewers and leave more room for the actual content in their head.
Simply put, a simpler but interesting design with fewer but more tasteful elements will engage the viewer but not take too much of their attention away from the main task, which is filling out the form survey.
Additionally, if you’re creating a large number of forms, having a simpler design will allow you to process them in batches, or even have an automated design tool work on them.
How Do I Upload My Google Form Header Image?
Here is a step-by-step tutorial that teaches you how to design and upload photos on your Google Forms header space.
- Click on the paint palette icon on the top-right corner
- In the layover sidebar that appears, click on Choose Image
- In the Select Header window that opens, click on Upload
- Choose the image from your computer that you want to be featured on the header, and click Done to upload
Once again, make sure that the image dimensions are according to the recommended sizes as per Google. Any bigger or smaller images may appear unsightly and cause people to lose interest in your forms immediately.
Designing Your Google Form Header Image Using Pixelied
Although having custom images on all of your Google forms is ideal, not everyone has the skills to open Photoshop and create a designer-quality image with the perfect dimensions, background color, elements, and composition.
Luckily, we have Pixelied, a graphic maker with its huge array of templates for a variety of online platforms, including Google Form headers.
Here is a step-by-step guide that shows you how to design and download your ideal Google Form header image.
Step One – Open Pixelied’s Editor
Open up Pixelied’s easy-to-use editor on the browser.
![]()
At this point, you have a massive set of settings and filters you can play with, even with regards to the size. However, it is best to stick to the recommended images sizes, especially on Google platforms since Google has strict specs on acceptable images.
Step Two – Edit Your Header Image Using Different Design Elements
![]()
Change up the photo composition, add elements to the image according to the set composition and your brand, modify the elements and background colors, and combine two images to make one.
The editor has thousands of elements you can choose from. These include vector drawings, pictures, shapes, stick figures, 2D characters, lines, and much more.
Other than that, you can also utilize other editing elements like text boxes, illustrations, custom blends, and more. You can also control things like opacity, shadows, borders, and other options.
Step Three – Download Your New Header Image
![]()
Once you’re done settings up your ideal header image, you can download it by clicking on the ‘Download‘ button on the top-right corner of the editor screen.
Pixelied gives you the option of downloading your header in various formats, including the recommended JPG/JPEG and PNG. It is recommended to choose JPG since it’s the more well-supported format and it loads quicker, allowing people to start filling forms quicker.
However, in case you’re design-conscious and want more lossless compression of images, PNG is the way to go. Since Google supports both formats, it’s up to you whether you want more form or function.
Bottom Line
Just like how engaging modern fonts can lend some much-needed appeal to your documents and other forms of online copy, a good header image will brighten up your Google form header image to where you can even get away with a slightly boring form!
This is especially true when you have free tools such as Pixelied that let you design, resize, and modify high-quality images.
The tool is built with the importance of image templates in mind. This means that you can create images for a variety of platforms without having to worry about whether they are the right size or not.
With its combination of high functionality as well as tons of options for image add-ons and elements, Pixelied is the ideal tool to use to design your best Google Form header images.